HOME – PROPERTY – CONSTRUCTION – COMMERCIAL


VIRTUAL TOURS VIA MATTERPORT 3D
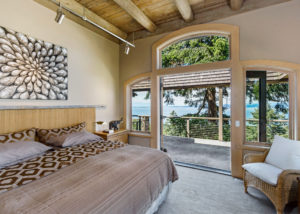
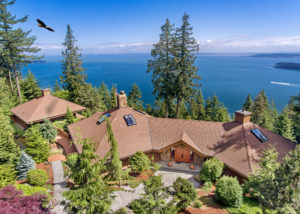
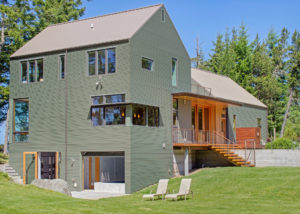
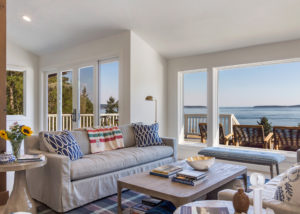
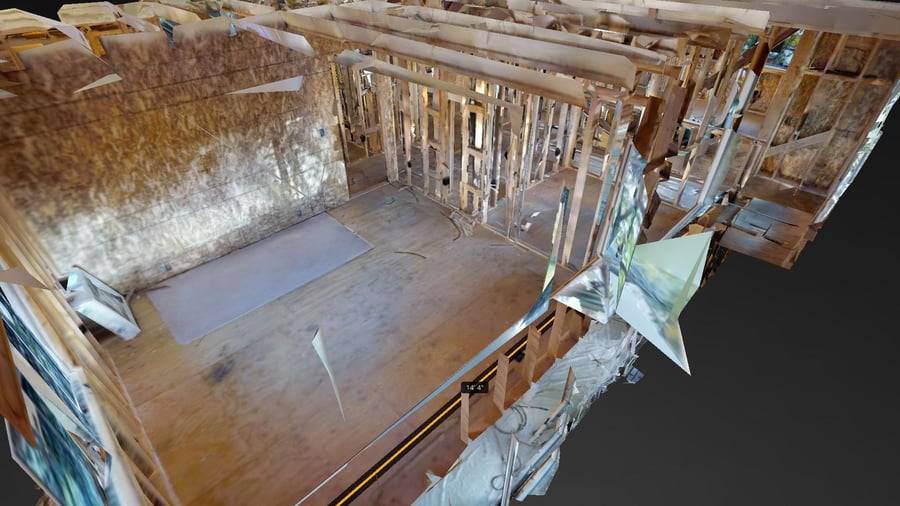
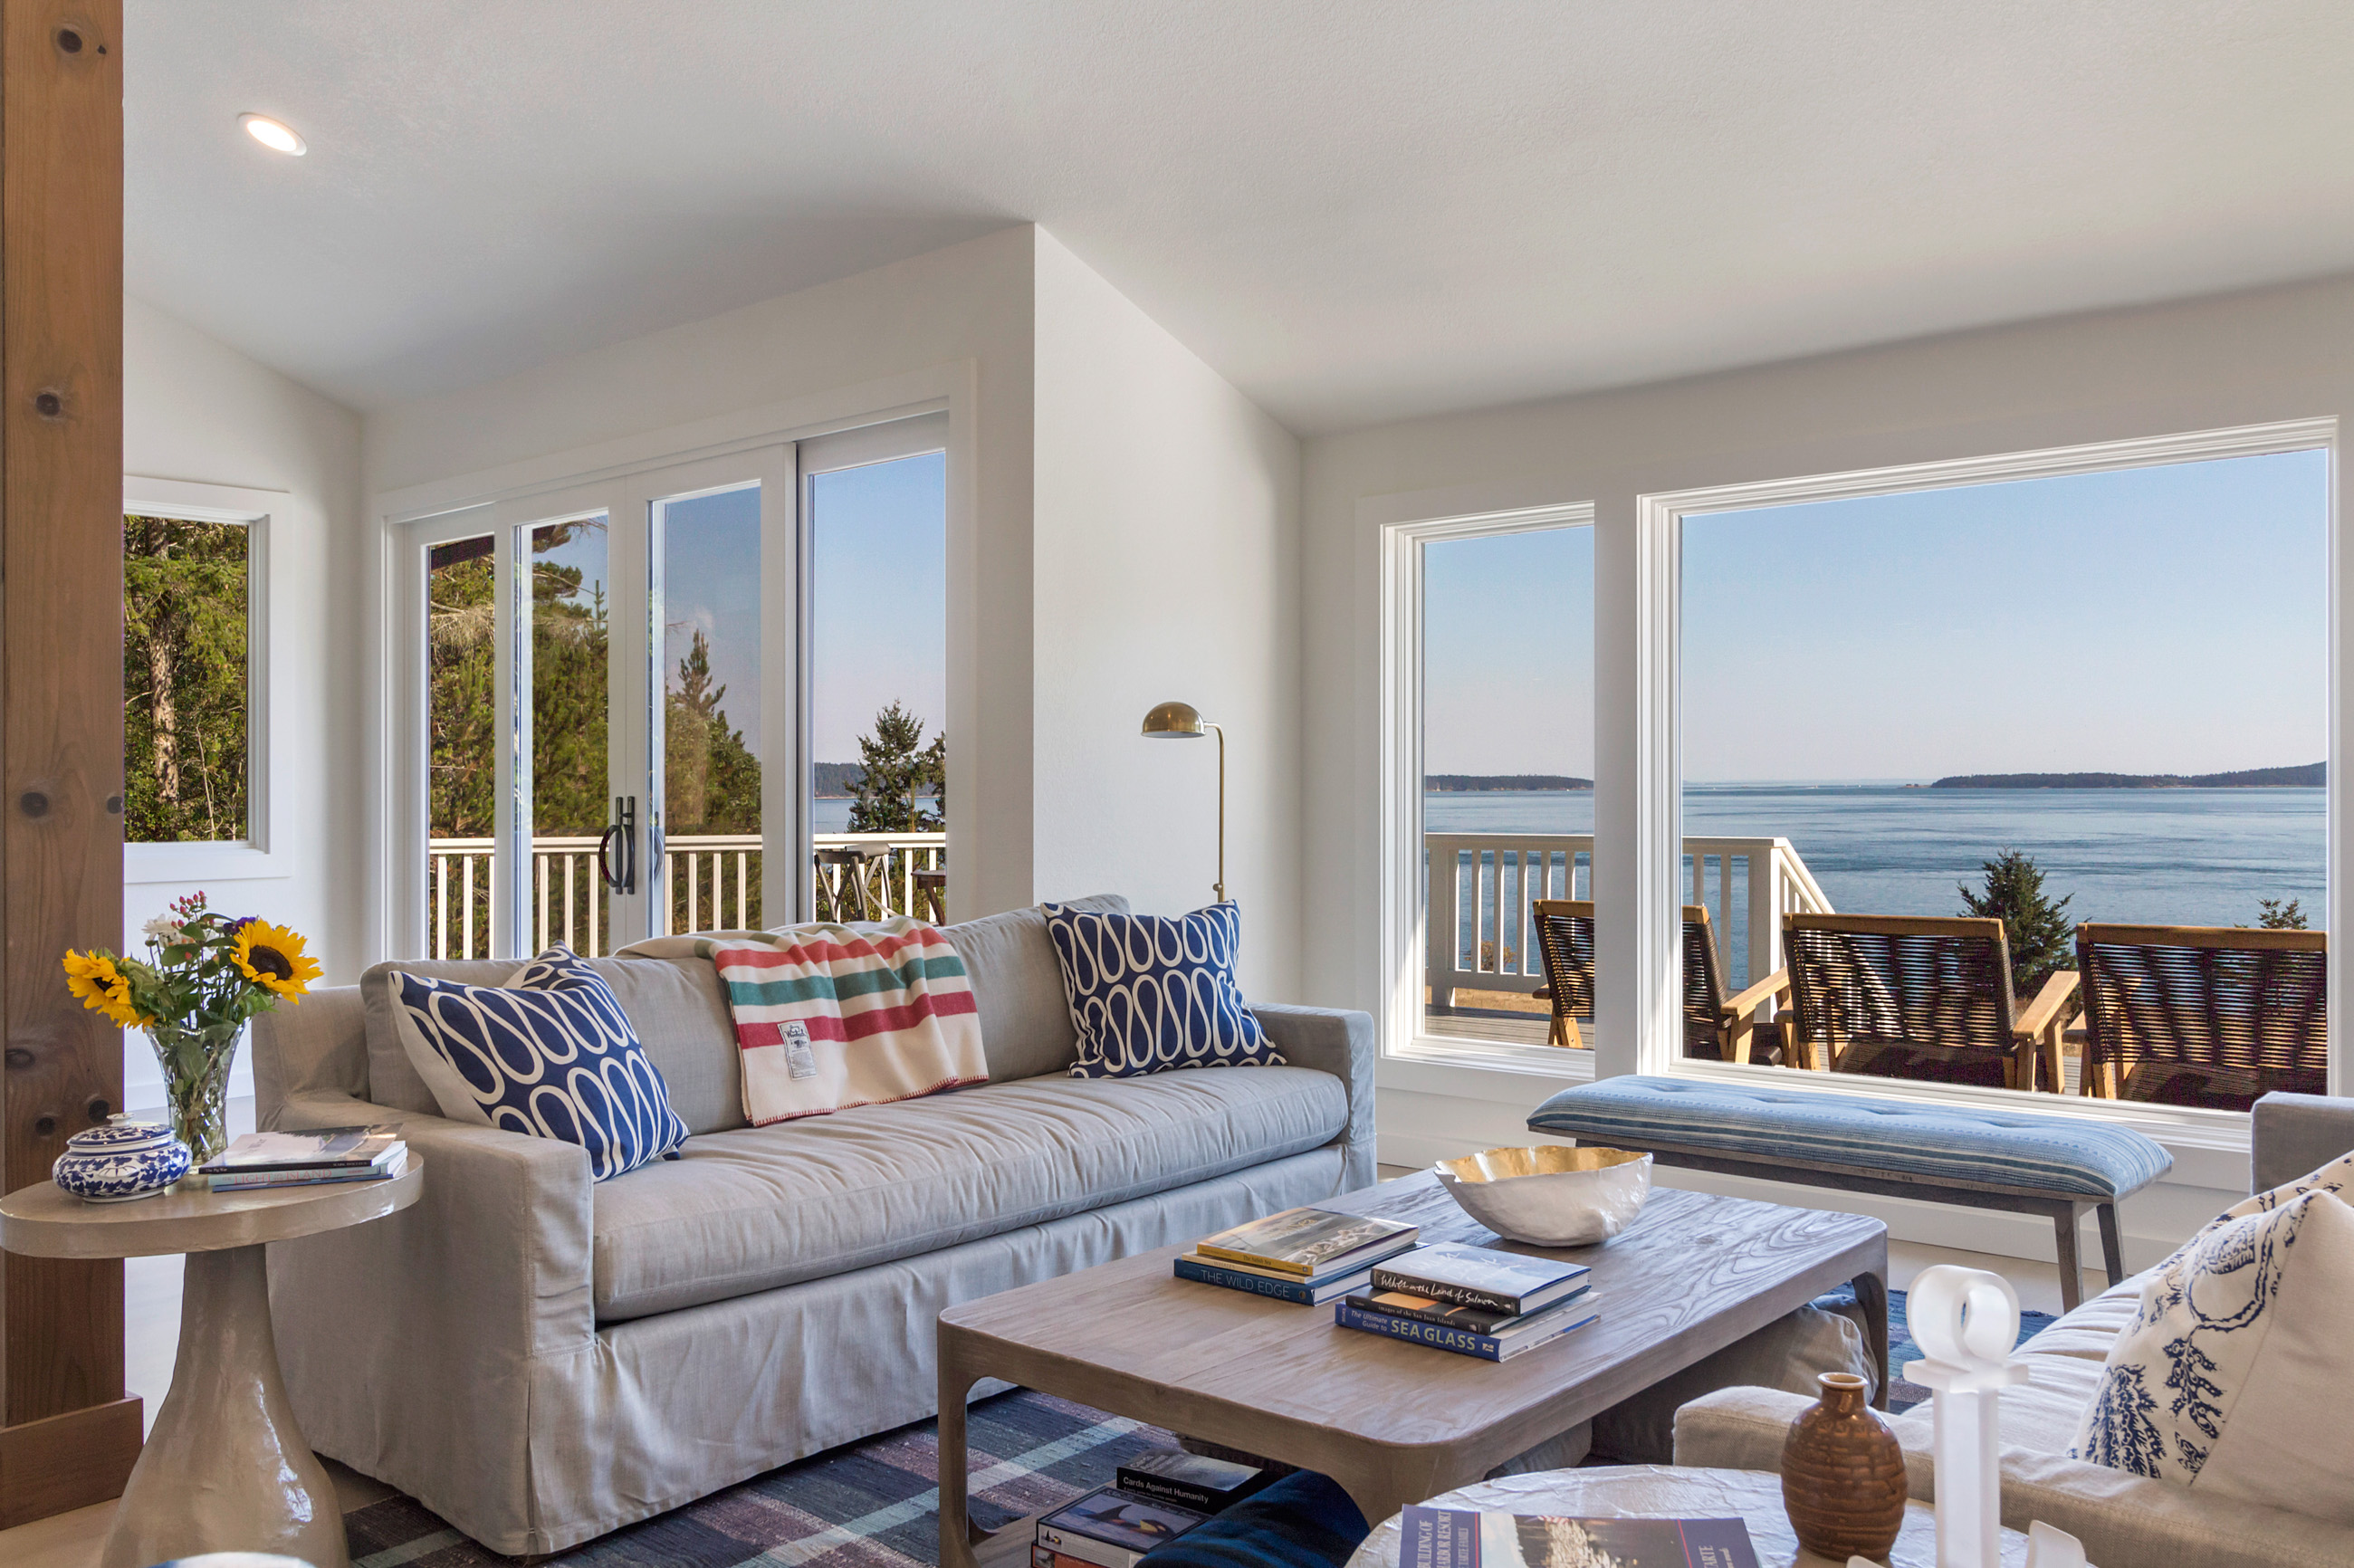
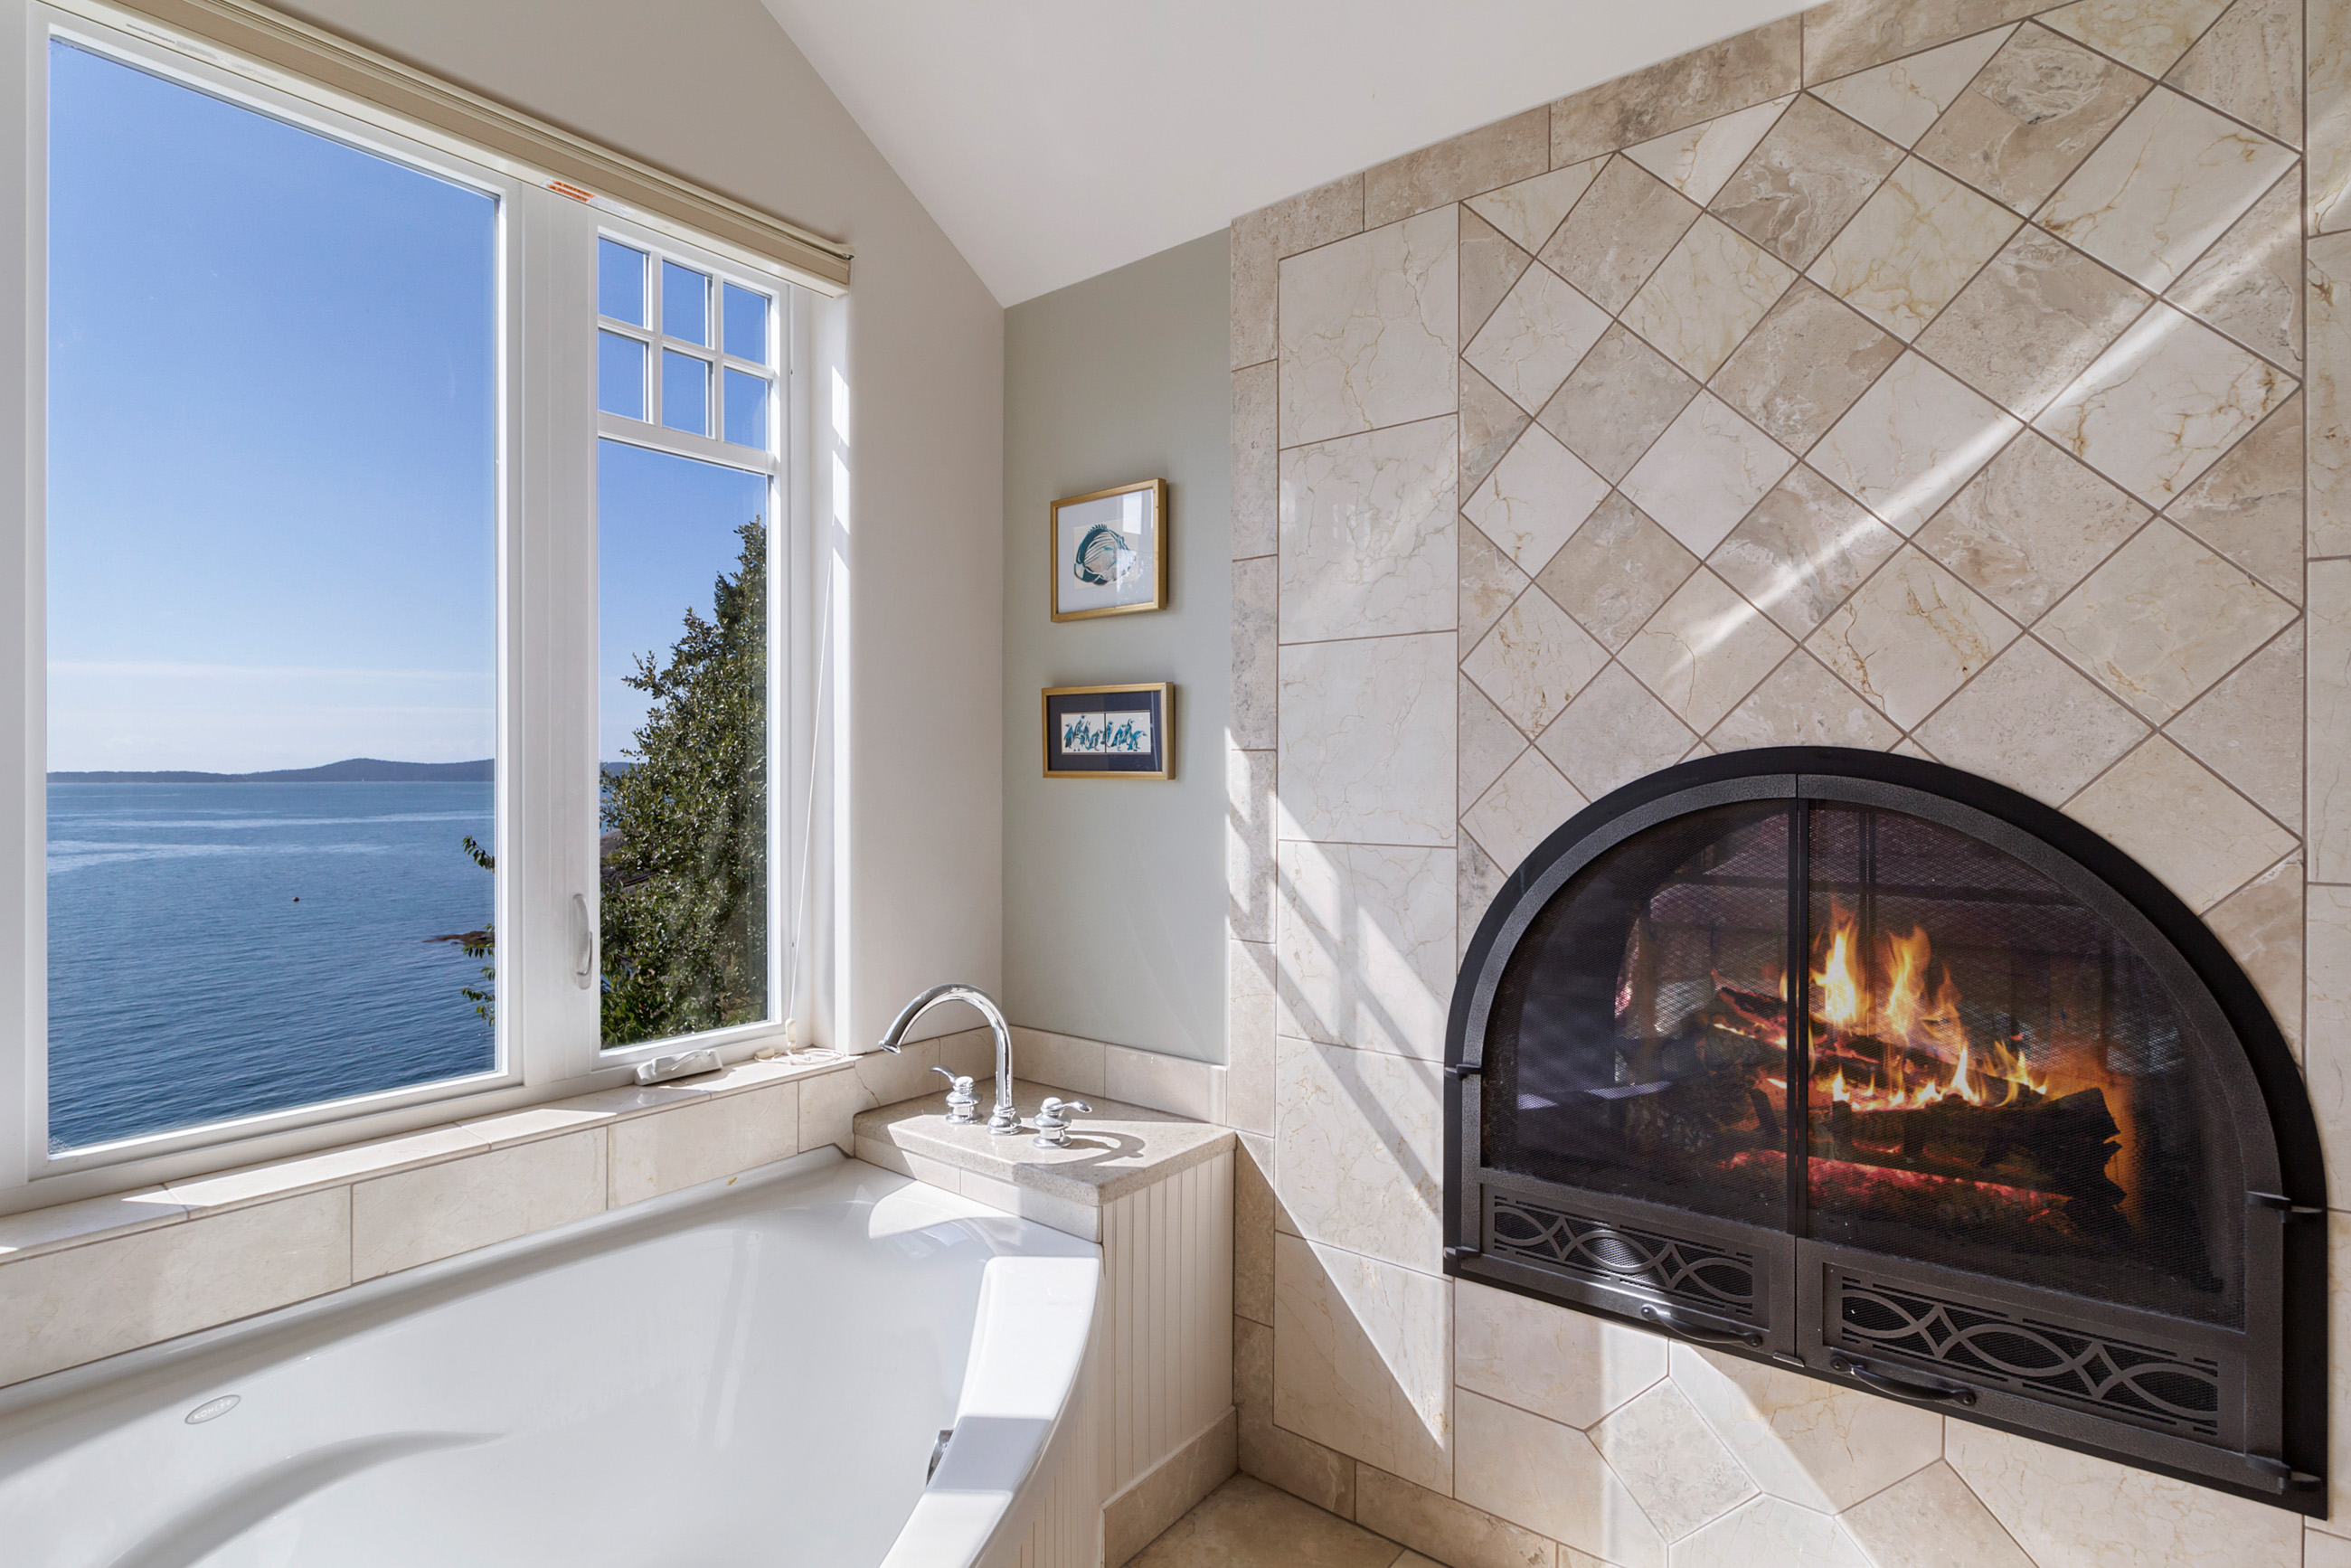
Blow prospective buyers away with 3D Showcase – an immersive online 3D experience that gives buyers a true sense of the feeling of your property before they ever see it in person. We put Matterport’s industry-leading technology to work for you. Weed out less interested buyers, and attract more qualified open house attendees. $0.10 per square foot. Matterport services are available on San Juan Island, Orcas Island, Lopez Island, and other non-ferry serviced islands.
 ►
Explore 3D Space
►
Explore 3D Space
 ►
Explore 3D Space
►
Explore 3D Space


Create a connection
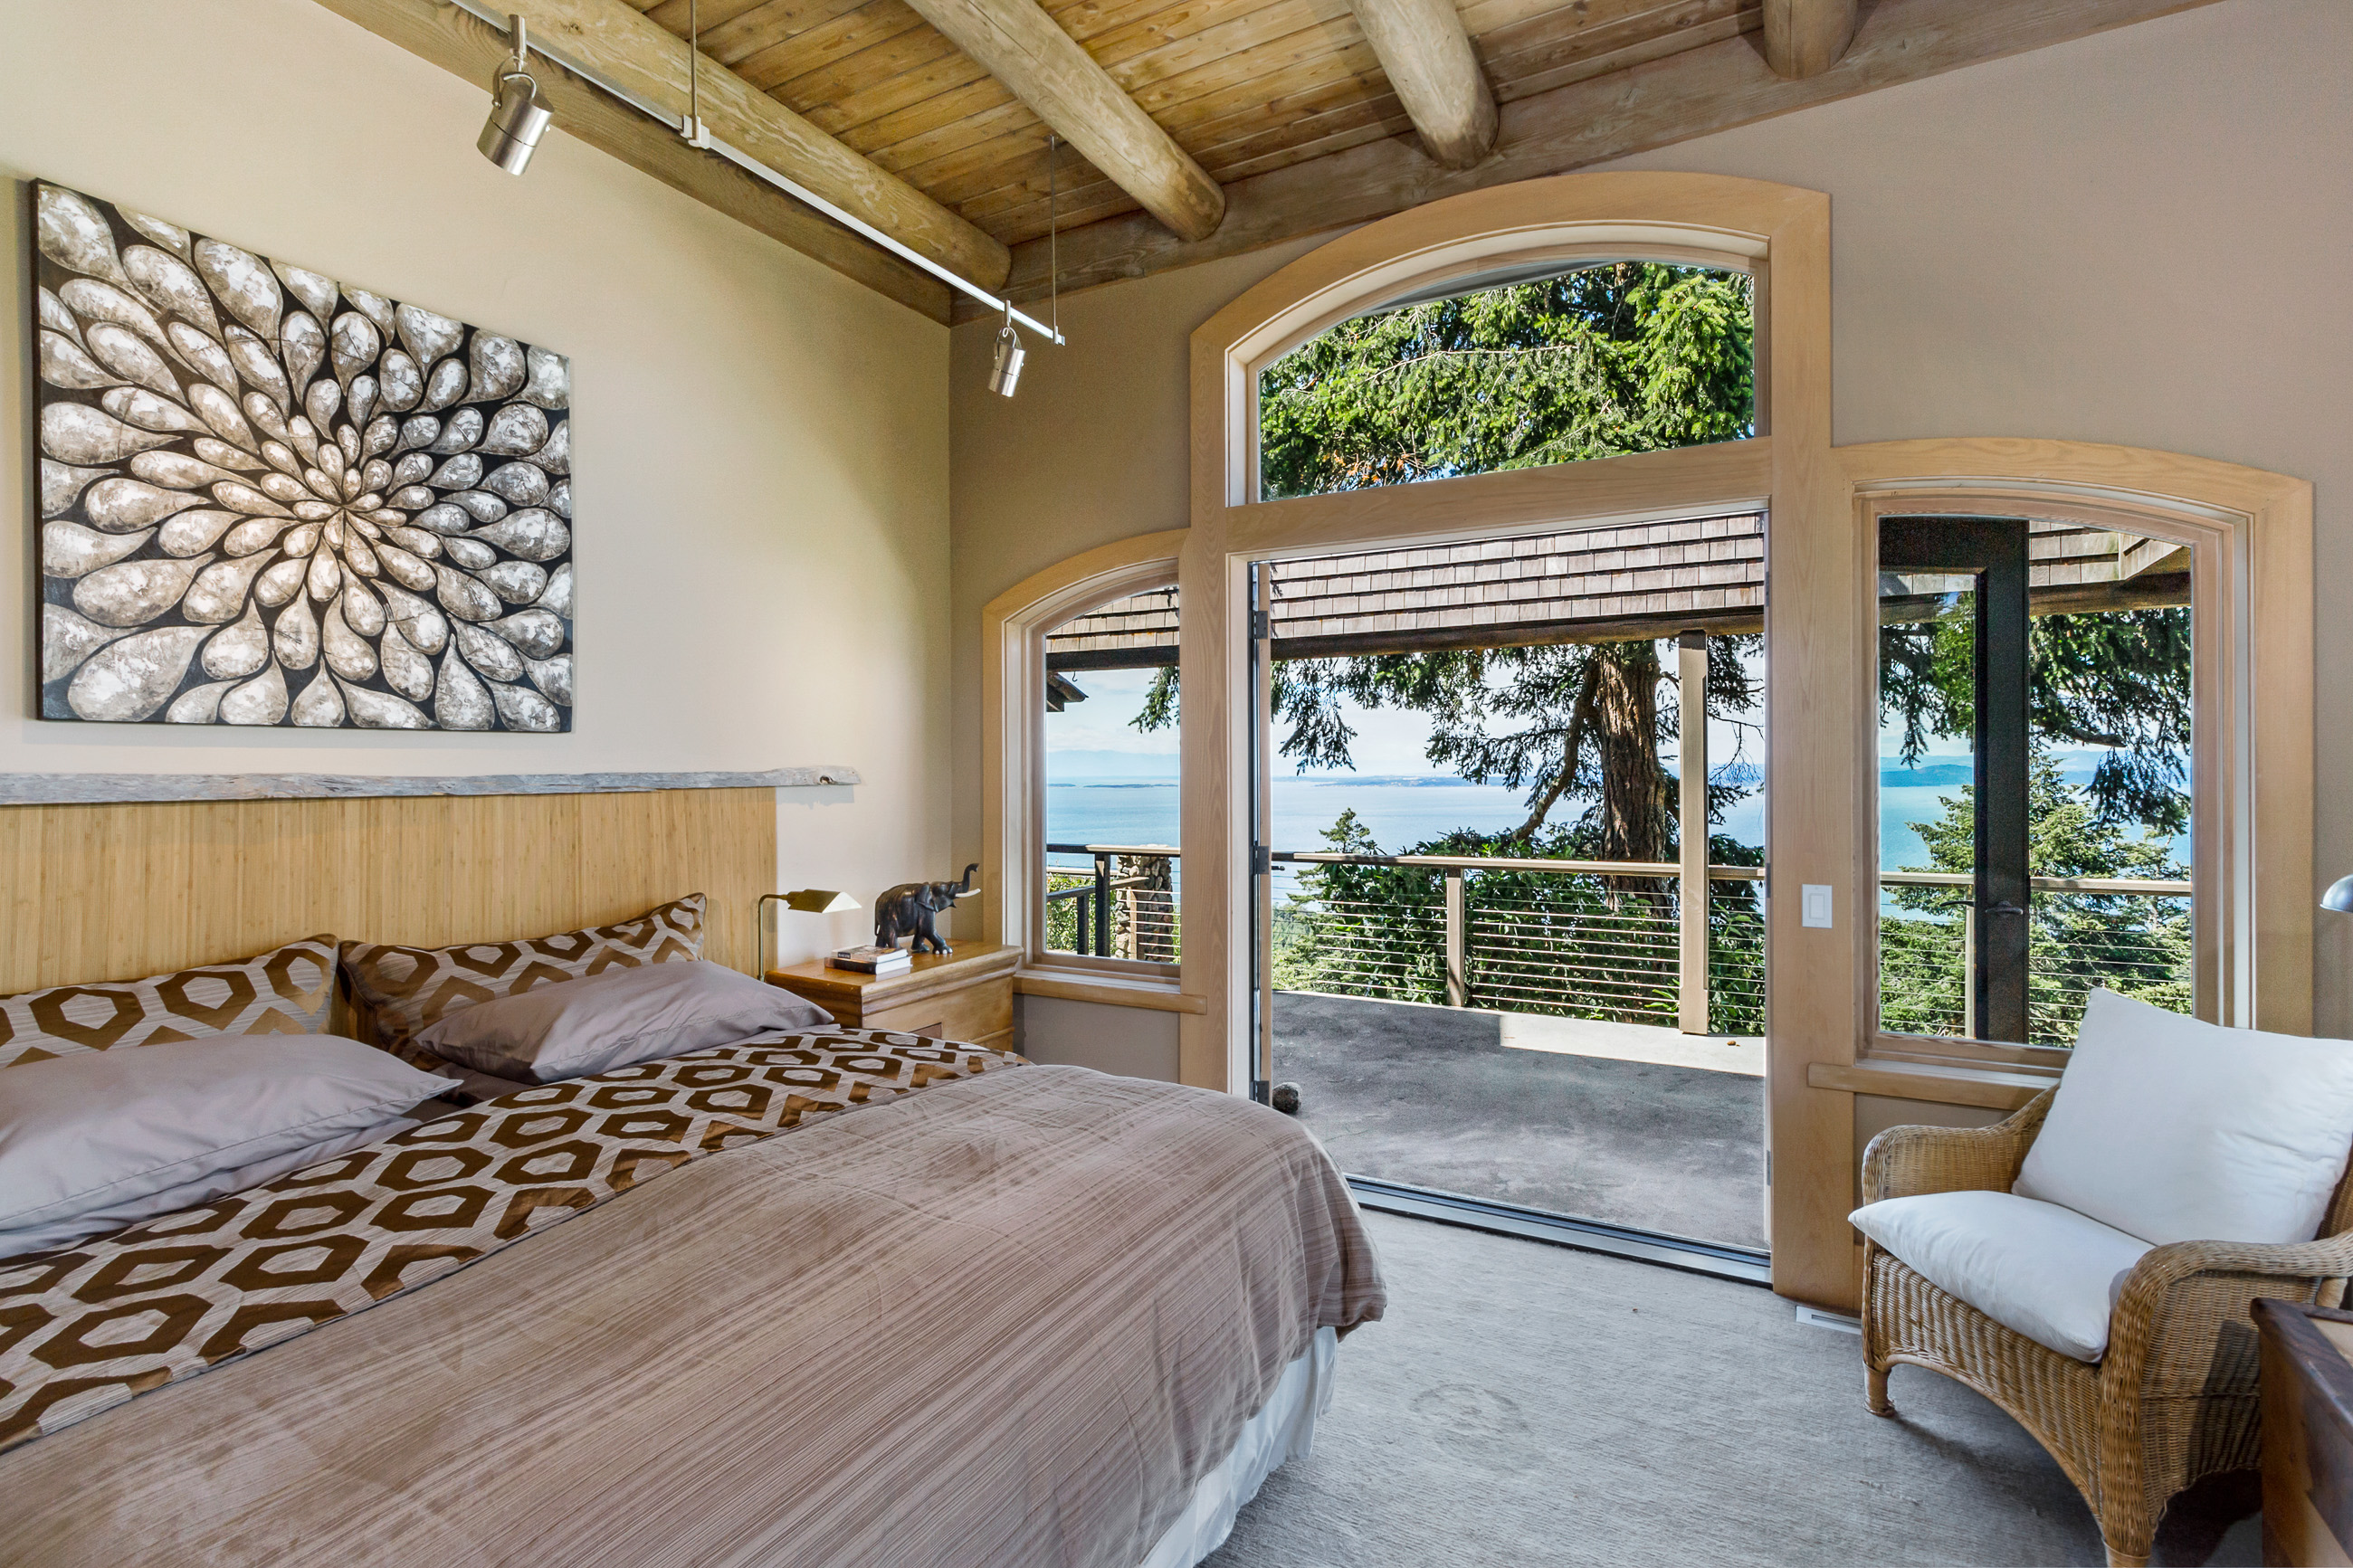
Home buyers will create an immediate, lasting emotional connection to a property because they can experience it as if they were really there.
Engage more buyers
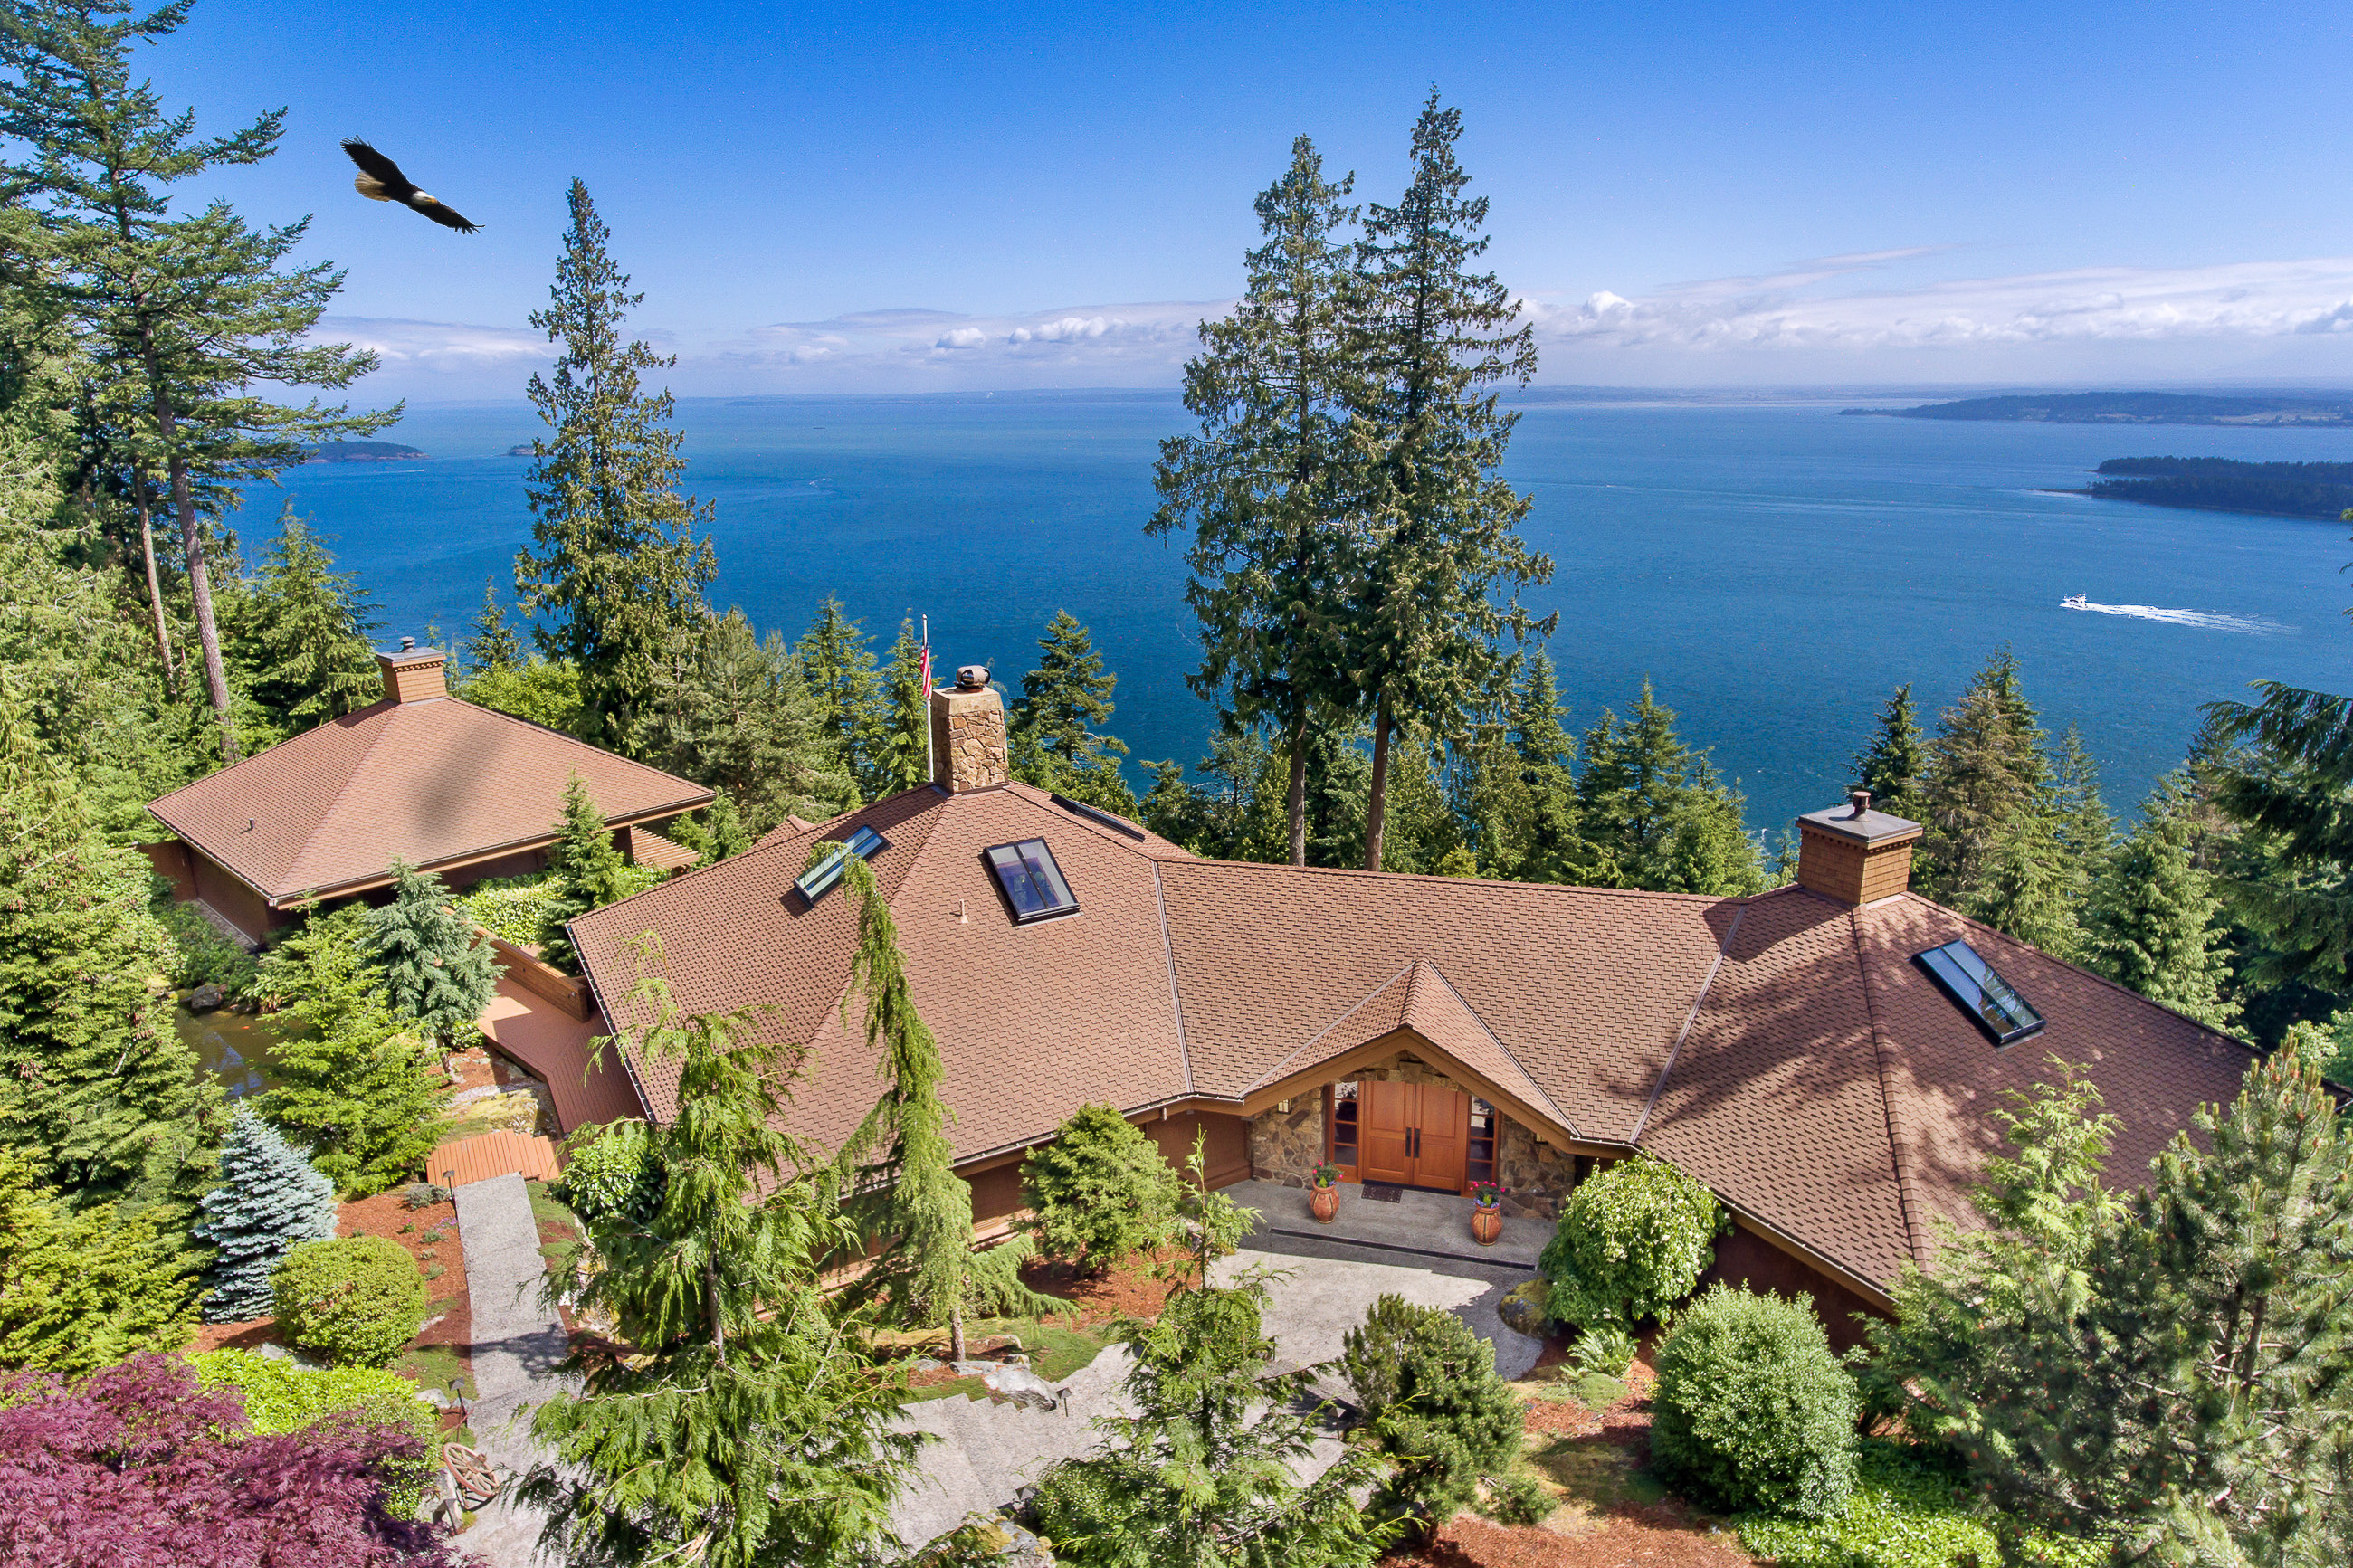
Matterport spaces are easy to share, so anyone with a computer or mobile device can have the open house experience from anywhere.
Build buzz
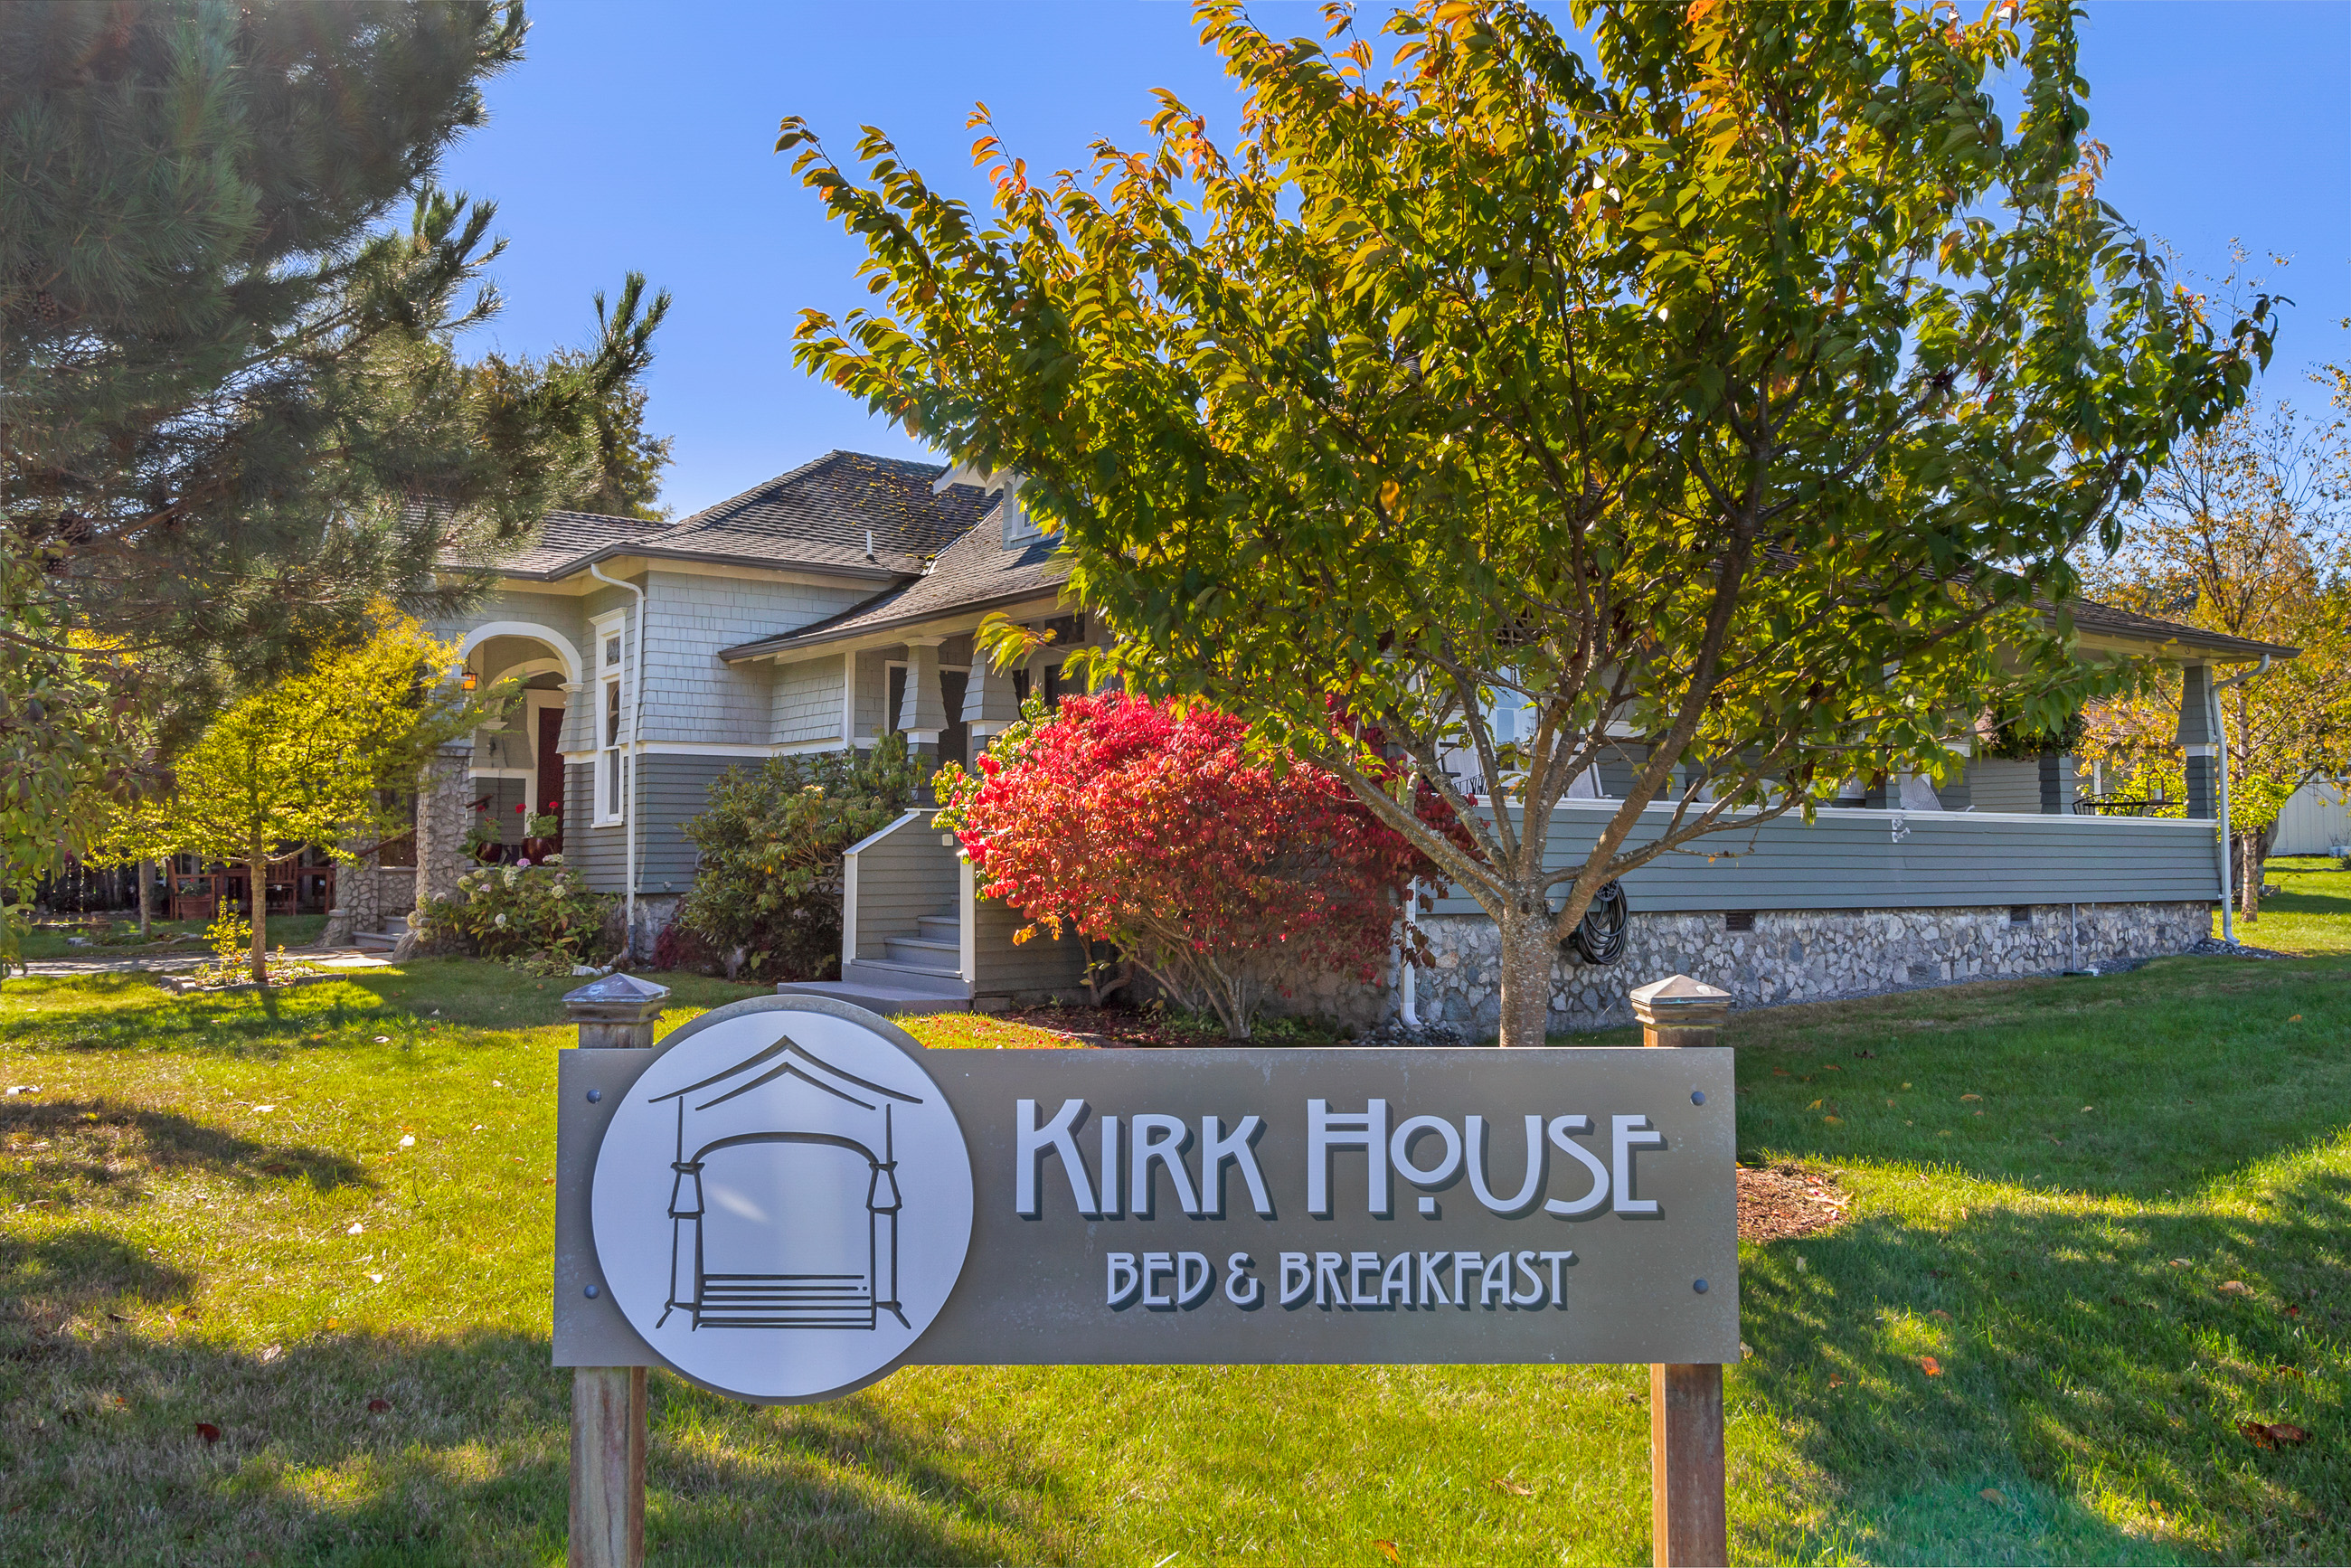
Generate momentum like you wouldn’t believe before the first open house with a space-age tool that will captivate buyers and motivate them to make an offer.